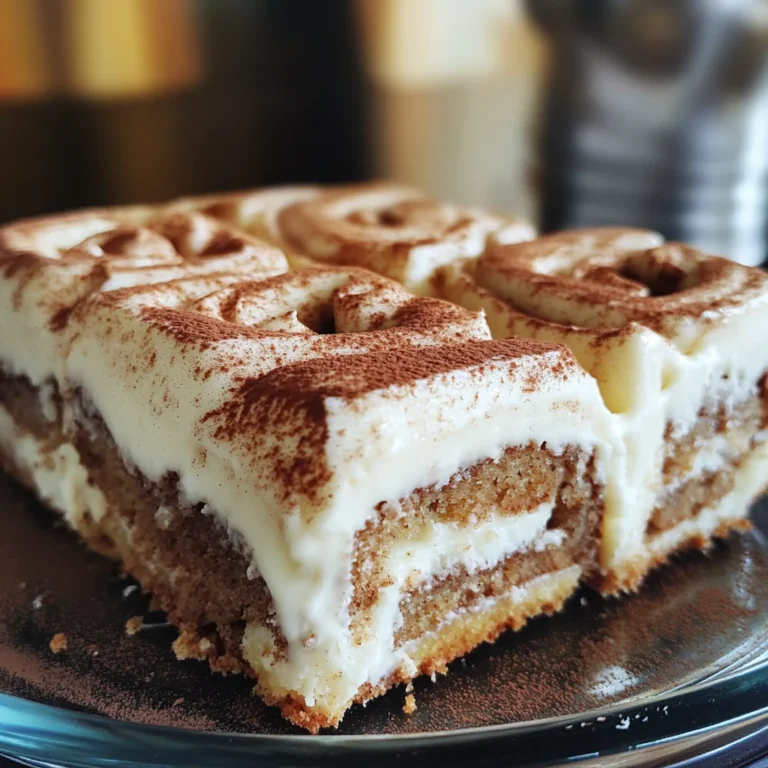
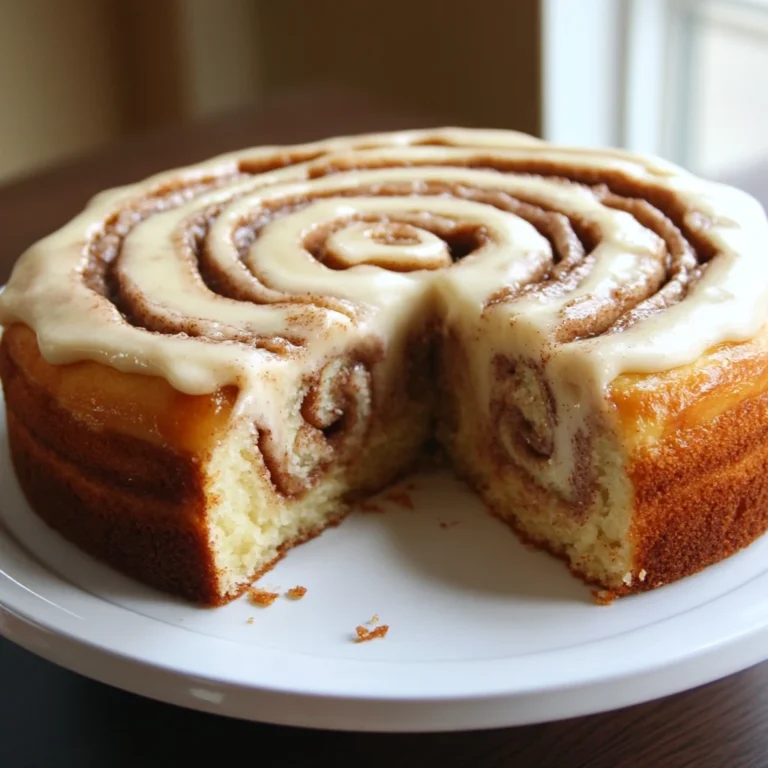
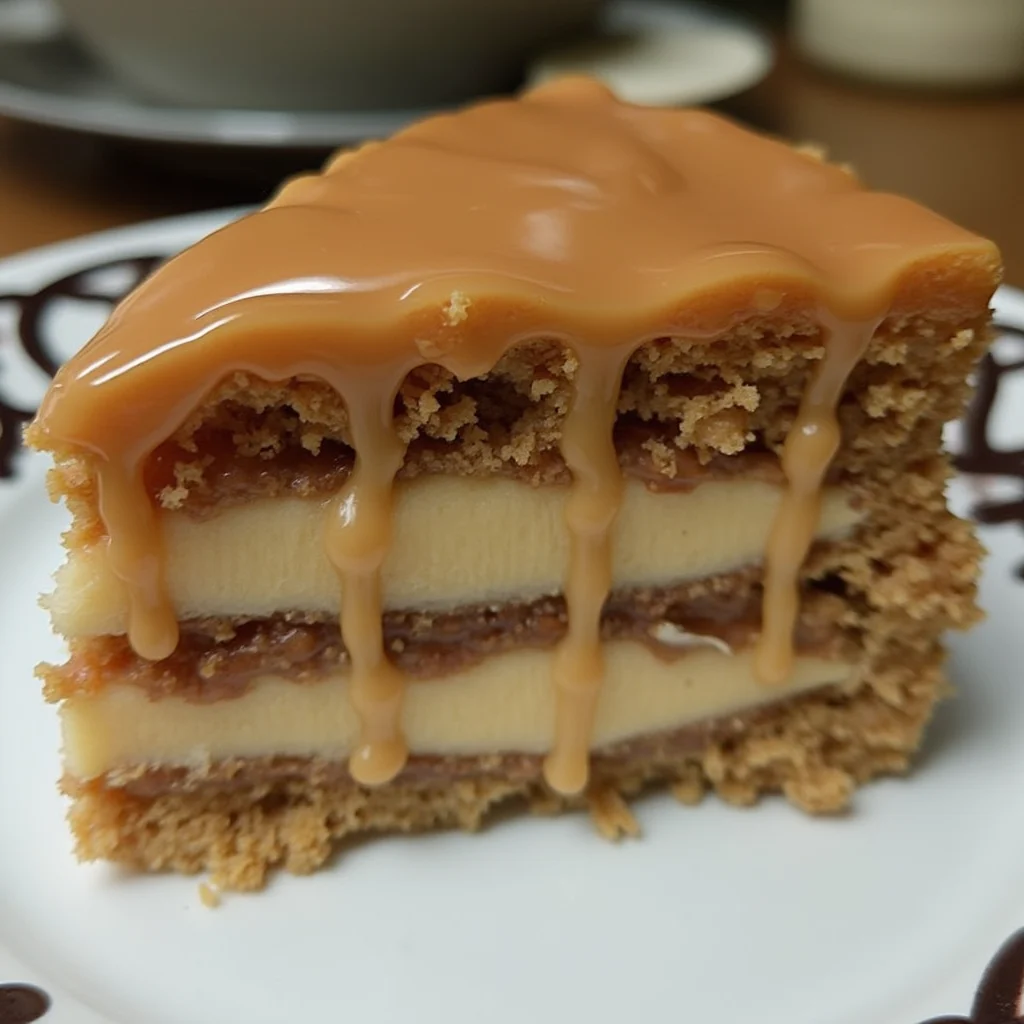
Butterscotch Cake with Caramel Frosting
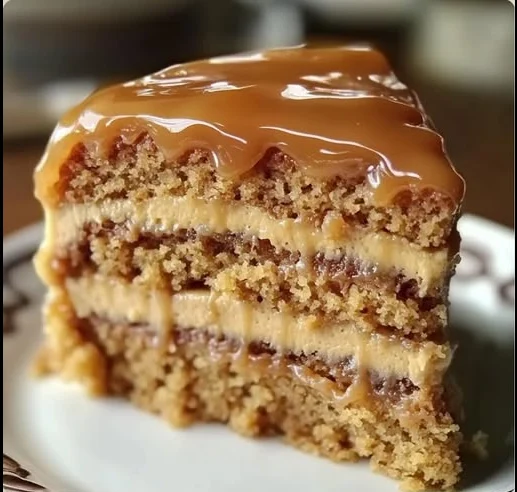
Description of this recipe: This Butterscotch Cake with Caramel Frosting is a decadent and comforting dessert that combines the rich flavors of butterscotch and caramel in a moist and tender cake. It’s perfect for celebrations, special occasions, or simply when you crave a sweet treat.
Why you will love this recipe: This cake is incredibly moist and flavorful, thanks to the combination of brown sugar, molasses, and buttermilk. The caramel frosting adds an extra layer of sweetness and complements the butterscotch flavor perfectly. The recipe is also relatively easy to make, making it a great option for both beginner and experienced bakers.
Introduction
Butterscotch, with its deeply comforting, caramelized sugar flavor, has always been a beloved classic. When paired with the smooth, equally tempting embrace of caramel, the combination elevates any dessert to a realm of pure indulgence. This Butterscotch Cake with Caramel Frosting is more than just a cake; it’s an experience. Every bite offers a harmonious blend of flavors and textures that leaves you wanting more. The cake itself is tender and moist, infused with the warm essence of butterscotch, while the homemade caramel frosting adds a luscious, melt-in-your-mouth sweetness. It’s the perfect dessert for cozy evenings, festive gatherings, or any occasion that calls for a touch of sweetness and sophistication. Baking this cake is like wrapping yourself in a warm, comforting blanket of flavor, making it a standout addition to any baker’s repertoire.
Ingredients:
For the cake:
- 1 ½ cups all-purpose flour
- 1 cup granulated sugar
- ¾ cup packed brown sugar
- ½ cup unsalted butter, softened
- 2 large eggs
- ½ cup buttermilk (or milk + ½ tsp vinegar)
- ¼ cup molasses (for rich butterscotch flavor)
- 1 tsp baking soda
- ½ tsp salt
- ½ tsp ground cinnamon (optional)
For the caramel icing:
- ½ cup unsalted butter
- 1 cup packed brown sugar
- ¼ cup heavy cream
- 1 tsp vanilla extract
- Pinch of salt
Preparation:
Step 1: Preheat Oven
Begin by preheating your oven to 350°F (175°C). This is a crucial first step because it ensures that the oven is at the correct temperature when you place the cake in to bake. An oven that is not fully preheated can lead to uneven baking, resulting in a cake that is either undercooked or overcooked. Grease and flour an 8-inch round or square baking pan thoroughly. This will prevent the cake from sticking to the pan, ensuring it comes out cleanly once baked. You can also line the bottom of the pan with parchment paper for extra assurance.
Step 2: Cream Butter & Sugars
In a large mixing bowl, beat together the softened unsalted butter, granulated sugar, and packed brown sugar. Use an electric mixer for best results, beating on medium speed until the mixture becomes light and fluffy. This step is vital because creaming the butter and sugars incorporates air into the mixture, which contributes to the cake’s light and airy texture. Properly creamed butter and sugar should be noticeably lighter in color and have a soft, fluffy consistency.
Step 3: Add Eggs
Beat in the large eggs one at a time, making sure each egg is fully incorporated into the butter and sugar mixture before adding the next. This ensures that the eggs are evenly distributed throughout the batter, contributing to a smooth and consistent texture. Mixing each egg in thoroughly prevents the batter from curdling and helps create a stable emulsion.
Step 4: Mix Dry Ingredients
In a separate bowl, whisk together the all-purpose flour, baking soda, salt, and optional ground cinnamon. Whisking the dry ingredients together ensures that the baking soda and salt are evenly distributed throughout the flour, which is essential for proper leavening and flavor balance. Cinnamon adds a warm, subtle spice that enhances the butterscotch flavor but can be omitted if preferred.
Step 5: Combine Wet & Dry Ingredients
Gradually add the dry ingredients to the butter mixture, alternating with the buttermilk. Begin and end with the dry ingredients. This method prevents the gluten in the flour from developing too much, resulting in a more tender cake. The buttermilk adds moisture and a slight tang, which complements the sweetness of the butterscotch. Mix until just combined; avoid overmixing, as this can lead to a tough cake.
Step 6: Stir in Molasses
Gently fold in the molasses until it is evenly distributed throughout the batter. Molasses is a key ingredient in this recipe, as it provides the rich, deep flavor characteristic of butterscotch. Be careful not to overmix at this stage; just ensure that the molasses is fully incorporated.
Step 7: Bake
Pour the batter into the prepared baking pan and smooth the top with a spatula. Bake in the preheated oven for 30–35 minutes, or until a toothpick inserted in the center comes out clean. The baking time may vary depending on your oven, so it’s important to check the cake’s doneness using the toothpick test. A clean toothpick indicates that the cake is fully baked, while a toothpick with wet batter means it needs more time.
Step 8: Cool Completely
Allow the cake to cool in the pan on a wire rack for at least 30 minutes before frosting. This cooling period allows the cake to set and become more stable, making it easier to handle and frost. Cooling the cake completely prevents the frosting from melting and ensures a neat, even finish.
Step 9: Make Caramel Icing
While the cake is cooling, prepare the caramel icing. In a small saucepan, combine the unsalted butter, packed brown sugar, and heavy cream. Cook over medium heat, stirring constantly, until the sugar dissolves and the mixture begins to bubble. Continuous stirring prevents the sugar from burning and ensures a smooth, creamy caramel.
Step 10: Simmer & Finish
Reduce the heat to low and simmer for 2–3 minutes, stirring occasionally. This simmering period allows the caramel to thicken slightly. Remove from heat and stir in the vanilla extract and a pinch of salt. The vanilla adds a delicate flavor, while the salt enhances the sweetness of the caramel.
Step 11: Frost Cake
Let the icing cool slightly—just enough so it doesn’t melt the cake. The ideal consistency is thick enough to spread easily but still pourable. Spread the caramel icing evenly over the cooled cake, ensuring every part is covered with a generous layer of sweet, buttery caramel.
Step 12: Serve & Store
Slice the cake and enjoy! Store any leftovers covered at room temperature for up to 2 days, or refrigerate for longer freshness. Refrigerating the cake will help it stay moist and prevent the frosting from becoming too soft.
COOKING Rating:
- Difficulty: Medium
- Taste: Rich, buttery, and sweet
Serving Suggestions:
- Serve slices of Butterscotch Cake with Caramel Frosting with a scoop of vanilla ice cream or a dollop of whipped cream for an extra indulgent treat.
- Pair the cake with a warm beverage, such as coffee, tea, or hot chocolate, to complement its rich flavors.
- Garnish with chopped nuts, such as pecans or walnuts, for added texture and flavor.
- For a festive touch, decorate the cake with caramel drizzles or butterscotch candies.
Tips:
- Use high-quality ingredients for the best flavor and texture.
- Measure ingredients accurately to ensure consistent results.
- Do not overmix the batter, as this can lead to a tough cake.
- Adjust the baking time as needed to ensure the cake is fully baked but not overcooked.
- Allow the cake to cool completely before frosting to prevent the frosting from melting.
- Store leftover cake in an airtight container to maintain its freshness.
Prep Time:
- 20 minutes
Cook Time:
- 30-35 minutes
Total Time:
- 1 hour (including cooling)
Nutritional Information:
(Note: Nutritional information is an estimate and may vary based on specific ingredients and portion sizes.)
- Calories: Approximately 450-500 per slice
- Protein: Approximately 5-7 grams per slice
- Sodium: Approximately 200-250 mg per slice
Conclusion
This Butterscotch Cake with Caramel Frosting is a delightful dessert that’s sure to impress. The combination of the moist, butterscotch-infused cake and the luscious caramel frosting creates a flavor profile that is both comforting and indulgent. Whether you’re baking for a special occasion or simply want to treat yourself and your loved ones, this cake is a perfect choice. The recipe is easy to follow, and the results are well worth the effort. Enjoy the process of baking and savor every bite of this delectable cake!
Questions and Answers About This Recipe:
Q1: Can I use a different type of sugar instead of brown sugar?
A: While you can substitute brown sugar with granulated sugar, it will alter the flavor and texture of the cake and frosting. Brown sugar adds a depth of flavor and moisture that granulated sugar cannot replicate. If you must substitute, consider using a mix of granulated sugar and a tablespoon of molasses to mimic the flavor of brown sugar.
Q2: What can I use if I don’t have buttermilk?
A: If you don’t have buttermilk on hand, you can easily make a substitute by adding 1/2 teaspoon of white vinegar or lemon juice to 1/2 cup of regular milk. Let it sit for about 5 minutes until it curdles slightly. This will give you a similar tang and moisture that buttermilk provides.
Q3: How do I prevent the cake from sticking to the pan?
A: To prevent the cake from sticking, grease the baking pan thoroughly with butter or cooking spray. Then, lightly flour the pan, making sure to coat all surfaces. You can also line the bottom of the pan with parchment paper for extra insurance.
Q4: Can I make this cake ahead of time?
A: Yes, you can bake the cake a day ahead of time. Allow it to cool completely, then wrap it tightly in plastic wrap and store it at room temperature. Prepare the frosting just before serving to ensure it’s fresh and creamy.
Q5: What is the best way to store leftover cake?
A: Store leftover cake in an airtight container at room temperature for up to 2 days, or in the refrigerator for up to 5 days. Refrigerating the cake will help it stay moist and prevent the frosting from becoming too soft. Bring the cake to room temperature before serving for the best flavor and texture.