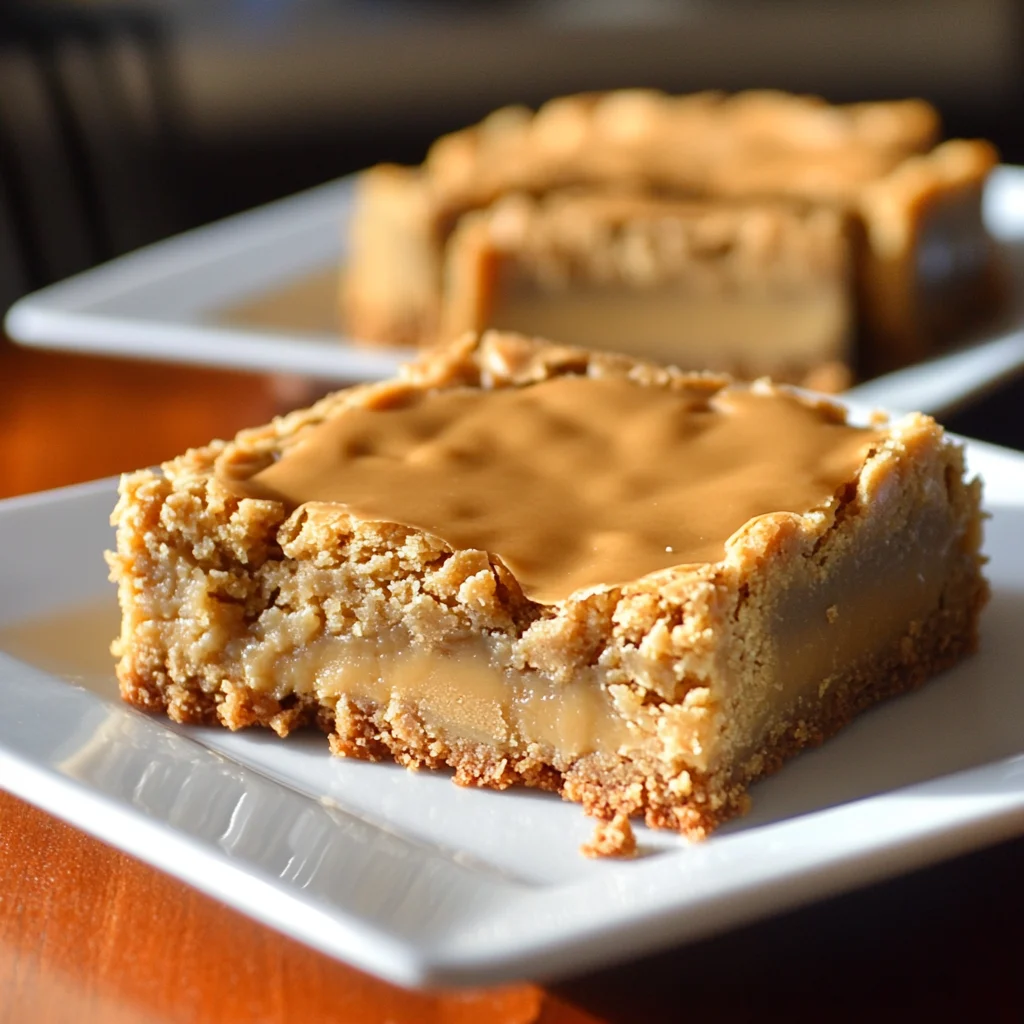
Peanut Butter Lunch Lady Cookie Bars
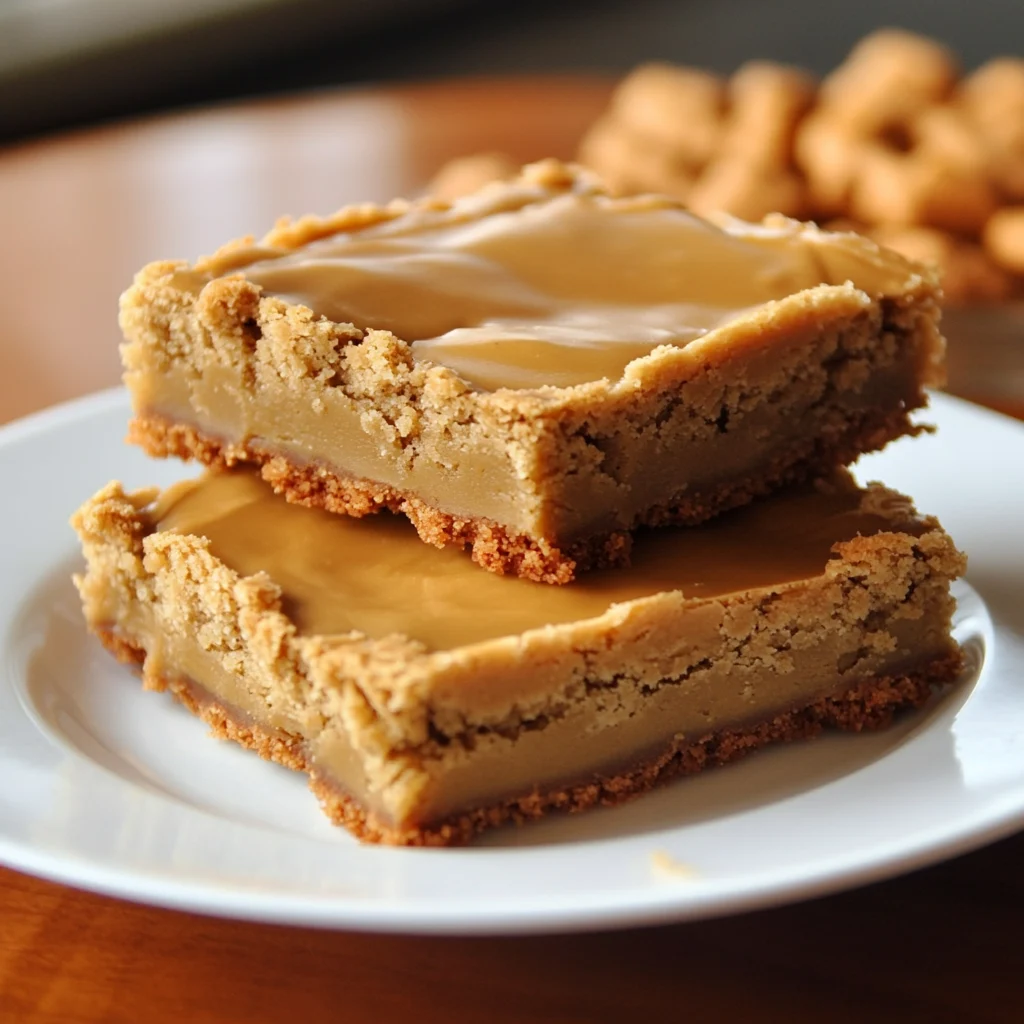
These bars are a nostalgic treat reminiscent of school cafeteria desserts. They’re soft, chewy, and packed with peanut butter flavor, topped with a simple powdered sugar glaze.
Why you will love this recipe
- Easy to make: This recipe uses simple ingredients and straightforward instructions, making it perfect for beginner bakers.
- Peanut butter heaven: If you’re a peanut butter lover, these bars are a dream come true. The combination of peanut butter in the cookie and the glaze is irresistible.
- Perfect for sharing: These bars are ideal for parties, potlucks, or any occasion where you need a crowd-pleasing dessert.
- Nostalgic: These bars will bring back memories of school lunches and simpler times.
- Customizable: You can easily add chocolate chips, nuts, or other toppings to customize these bars to your liking.
Introduction
These Peanut Butter Lunch Lady Cookie Bars are a delightful tribute to the classic school cafeteria treat. These bars have a rich, melt-in-your-mouth texture, with a flavor profile dominated by creamy peanut butter balanced with sweetness. These bars are incredibly easy to prepare, making them a fantastic option for both novice and experienced bakers.
The inspiration behind these bars comes from the desire to recreate the comforting and nostalgic flavors of school lunches. The goal was to develop a recipe that captures the essence of the classic peanut butter bars while ensuring a texture that is soft, chewy, and irresistibly delicious. These bars are not only a delightful dessert but also a trip down memory lane, bringing back cherished memories of school days and simple pleasures.
What sets these Peanut Butter Lunch Lady Cookie Bars apart is their perfect balance of flavors and textures. The peanut butter flavor is prominent without being overpowering, complemented by the sweetness of the sugar and the richness of the butter. The texture is soft and chewy, with a slight density that makes each bite satisfying. The powdered sugar glaze adds a touch of sweetness and a smooth finish, enhancing the overall experience. These bars are a true testament to the magic of simple ingredients combined in just the right way.
Ingredients:
- 1 cup unsalted butter, softened
- 1 cup granulated sugar
- 1 cup packed brown sugar
- 1 cup creamy peanut butter
- 2 large eggs
- 2 ½ teaspoons vanilla extract
- 1 ½ cups all-purpose flour
- 1 teaspoon baking powder
- ½ teaspoon salt
- 1 cup powdered sugar
- 2-3 tablespoons milk (or cream)
Preparation:
Step 1: Preheat the oven to 350°F (175°C) and line an 8×8-inch baking pan with parchment paper or grease it well. This ensures that the bars will not stick to the pan and can be easily removed after baking.
Step 2: In a large mixing bowl, cream together the softened butter, granulated sugar, and packed brown sugar until light and fluffy. This process typically takes about 3-4 minutes, using a stand mixer or a hand mixer. Creaming the butter and sugars together is crucial for creating a light and airy texture in the cookie bars.
Step 3: Add the creamy peanut butter to the mixture and continue to mix until smooth and well combined. Ensure that the peanut butter is evenly distributed throughout the mixture for a consistent flavor in every bite.
Step 4: Beat in the eggs one at a time, then stir in the vanilla extract. Mixing in the eggs one at a time helps to ensure that they are fully incorporated into the batter. The vanilla extract enhances the overall flavor of the cookie bars, adding a touch of warmth and sweetness.
Step 5: In a separate bowl, whisk together the all-purpose flour, baking powder, and salt. Whisking the dry ingredients ensures that they are evenly distributed, which is essential for proper leavening and texture.
Step 6: Gradually add the dry ingredients to the wet ingredients, mixing until just combined. Be careful not to overmix the batter, as this can result in tough cookie bars. Mix until the flour is just incorporated, and no streaks remain.
Step 7: Transfer the dough to the prepared baking pan and spread it evenly. Use a spatula or your hands to ensure that the dough is evenly distributed in the pan, creating a uniform thickness for even baking.
Step 8: Bake for 20-25 minutes, or until the edges are golden brown and the center is set. To check if the bars are done, insert a toothpick into the center; it should come out clean or with a few moist crumbs.
Step 9: Let the bars cool completely in the pan before frosting. Cooling the bars completely prevents the frosting from melting and ensures that the bars are firm enough to cut and serve.
Step 10: In a small bowl, whisk together the powdered sugar, milk (or cream), and vanilla extract until smooth. Adjust the amount of milk to achieve the desired glaze consistency. If you prefer a thicker glaze, use less milk; if you prefer a thinner glaze, use more milk.
Step 11: Spread the glaze evenly over the cooled bars. Use a spatula or a knife to spread the glaze evenly over the surface of the bars.
Step 12: Cut the bars into squares and serve. Use a sharp knife to cut the bars into uniform squares. Serve immediately or store in an airtight container for later enjoyment.
COOKING Rating:
- Ease of Preparation: 5/5 (Very Easy)
- Taste: 5/5 (Excellent)
- Kid-Friendly: 5/5 (Highly Recommended)
- Overall: 5/5 (Exceptional)
Serving Suggestions:
- Classic Serving: Serve the bars as is, cut into squares, for a simple and satisfying dessert.
- With Ice Cream: Pair the bars with a scoop of vanilla or chocolate ice cream for a decadent treat.
- With Milk: Serve the bars with a glass of cold milk for a classic and comforting combination.
- Coffee or Tea: Enjoy the bars with a cup of coffee or tea for a delightful afternoon snack.
- Party Platter: Include the bars on a dessert platter for parties or gatherings, alongside other cookies, brownies, and treats.
Tips:
- Soft Butter: Ensure that the butter is softened to room temperature for easy creaming.
- Evenly Packed Brown Sugar: Pack the brown sugar tightly when measuring to ensure accurate sweetness.
- Don’t Overmix: Avoid overmixing the batter to prevent tough cookie bars.
- Cool Completely: Allow the bars to cool completely before frosting to prevent the glaze from melting.
- Customize: Add chocolate chips, nuts, or other toppings to customize the bars to your liking.
Prep Time:
- 15 minutes
Cook Time:
- 20-25 minutes
Total Time:
- 35-40 minutes
Nutritional Information:
(Note: Nutritional information is an estimate and may vary based on specific ingredients and serving sizes.)
- Calories: Approximately 250-300 per bar
- Protein: Approximately 4-5 grams per bar
- Sodium: Approximately 100-150 mg per bar
Conclusion
These Peanut Butter Lunch Lady Cookie Bars are a delightful and easy-to-make treat that is sure to bring back nostalgic memories and satisfy your sweet tooth. With simple ingredients and straightforward instructions, this recipe is perfect for both novice and experienced bakers. Whether you’re looking for a quick dessert for a weeknight or a crowd-pleasing treat for a party, these bars are guaranteed to be a hit.
The combination of peanut butter, sugar, and butter creates a rich and irresistible flavor that is complemented by the smooth and sweet powdered sugar glaze. The soft and chewy texture of the bars adds to their overall appeal, making them a truly satisfying dessert. So gather your ingredients, preheat your oven, and get ready to bake a batch of these delicious Peanut Butter Lunch Lady Cookie Bars.
Questions and Answers:
Q1: Can I use crunchy peanut butter instead of creamy peanut butter?
A: Yes, you can use crunchy peanut butter if you prefer a bit of texture in your bars. Keep in mind that it will change the overall texture of the bars slightly, making them a bit more crumbly. If you do use crunchy peanut butter, you might want to reduce the amount of flour by a tablespoon or two to keep the bars from being too dry.
Q2: Can I freeze these cookie bars?
A: Absolutely! These cookie bars freeze very well. To freeze them, allow the bars to cool completely after baking and frosting. Then, cut them into squares and wrap each square individually in plastic wrap. Place the wrapped bars in a freezer-safe bag or container. They can be stored in the freezer for up to 2-3 months. When you’re ready to eat them, simply thaw them at room temperature for about 30 minutes.
Q3: What can I use instead of milk in the glaze?
A: If you don’t have milk on hand, you can use cream, half-and-half, or even a non-dairy milk alternative like almond milk or soy milk. The key is to add the liquid gradually until you reach your desired consistency for the glaze. You can also use a bit of melted butter or even a tablespoon of corn syrup for a glossier finish.
Q4: How do I prevent the bars from being too dry?
A: To prevent the bars from being too dry, make sure you measure your flour accurately. Spoon the flour into your measuring cup and level it off with a knife, rather than scooping it directly from the bag, which can pack the flour and result in using too much. Also, avoid overbaking the bars. Check them around 20 minutes and remove them from the oven when the edges are golden and the center is set but still slightly soft.
Q5: Can I add chocolate chips to these bars?
A: Definitely! Adding chocolate chips to these bars is a great way to customize them to your liking. You can add about 1 cup of chocolate chips to the batter before baking. Semi-sweet or milk chocolate chips work well, but you can also use dark chocolate chips for a richer flavor. You can even sprinkle some chocolate chips on top of the bars before baking for a decorative touch.